Introduction
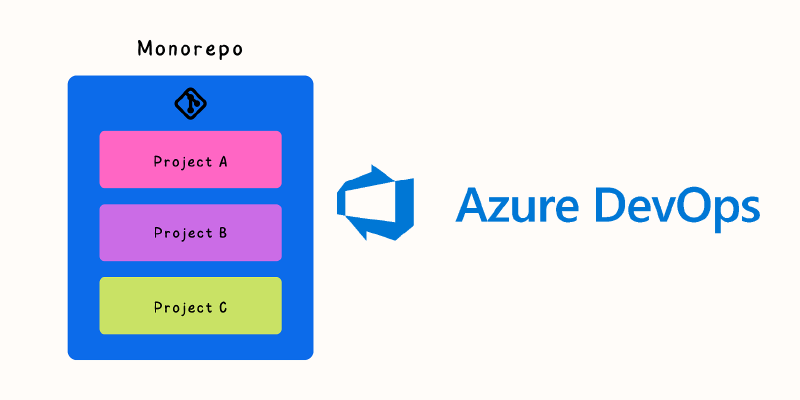
Monorepositories, or monorepos, are becoming increasingly popular for managing multiple projects within a single repository. One of the challenges faced in monorepo management is setting up build pipelines for individual projects contained within it. In this article, we’ll walk through the steps to create separate build pipelines for different projects in a monorepo using Azure DevOps.
Step 1: Organize Your Repository
/monorepo
/project1
    - azure-pipelines.yml
    - source code for project1
/project2
    - azure-pipelines.yml
    - source code for project2
...
Step 2: Create a Separate YAML Pipeline for Each Project
Within each project folder, create an azure-pipelines.yml file that outlines the build steps specific to that project. For instance:
project1/azure-pipelines.yml:
|
|
project2/azure-pipelines.yml:
|
|
Step 3: Commit and Push Changes
Once these YAML files are created, commit them into the repository and push the changes. This action triggers Azure DevOps to recognize the new pipelines.
Step 4: Configure Pipelines in Azure DevOps
- Navigate to Pipelines: Access your Azure DevOps project and navigate to the Pipelines section.
- Create New Pipeline: Click on “New Pipeline.”
- Choose Repository and YAML: Select your repository and choose “YAML” when prompted.
- Select YAML Files: Azure DevOps will automatically detect and list all azure-pipelines.yml files present in your repository. Pick the appropriate YAML file for the project you wish to build.
- Configuration: Configure additional pipeline settings, triggers, and save the pipeline. Repeat these steps for each project in your monorepo. Each pipeline will now independently trigger the build process for its respective project whenever changes are pushed to the repository.
Setting up separate pipelines for individual projects in a monorepo provides a streamlined and modular approach to managing builds. It ensures that each project’s build process remains isolated, making it easier to manage dependencies, perform versioning, and maintain the overall codebase efficiently. Azure DevOps, with its robust features, simplifies this process and enhances collaboration among development teams working within a monorepo architecture.
